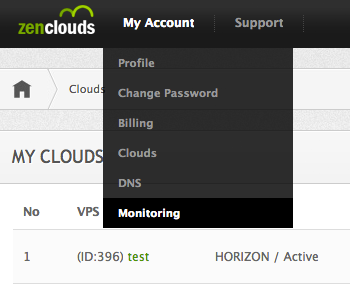
1) To start manage your Zen Monitoring, from your dashboard, navigate to your 'My Account' menu bar on the top and choose Monitoring.
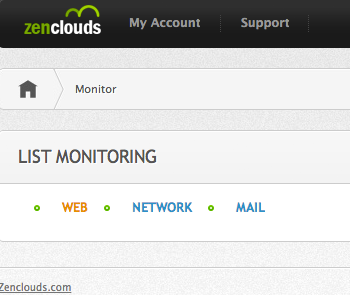
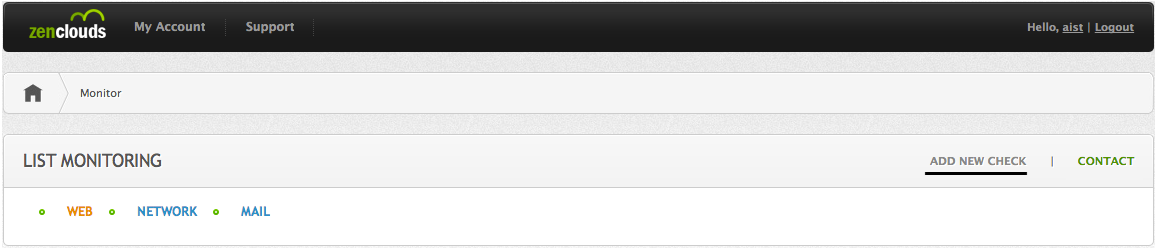
2) The page below shows all your monitoring check, separate into 3 tabs; Web, Network, and Mail.
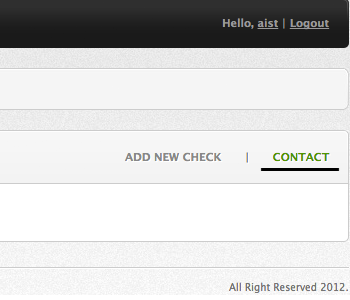
3) Before you can add new check, make sure you have added contact list for the alert to send to. If you don't have any, let's start by adding on by clicking at the contact link.
4) Insert your name, email, twitter username.
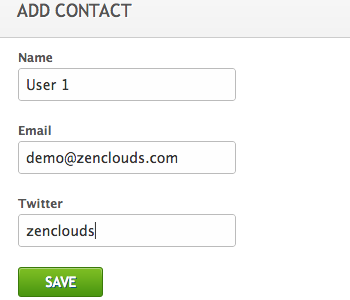
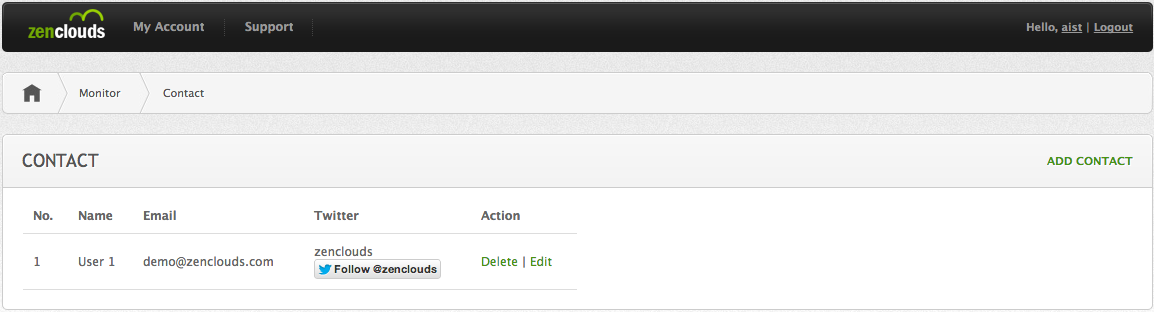
5) To enable alert through twitter, you have to follow @zenclouds twitter account. Alert will send you a Direct Message (DM) if any of your service is down.
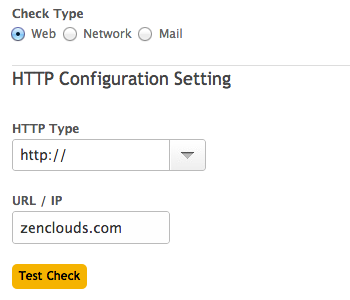
6) Now click 'Add New Check' at your Monitoring index page. For this example, we will add a web/http check.
7) Fill all the required field and click 'Save'.
8) Once done, you will be redirect to your Monitoring index page and list out the 'check' that you can save earlier.
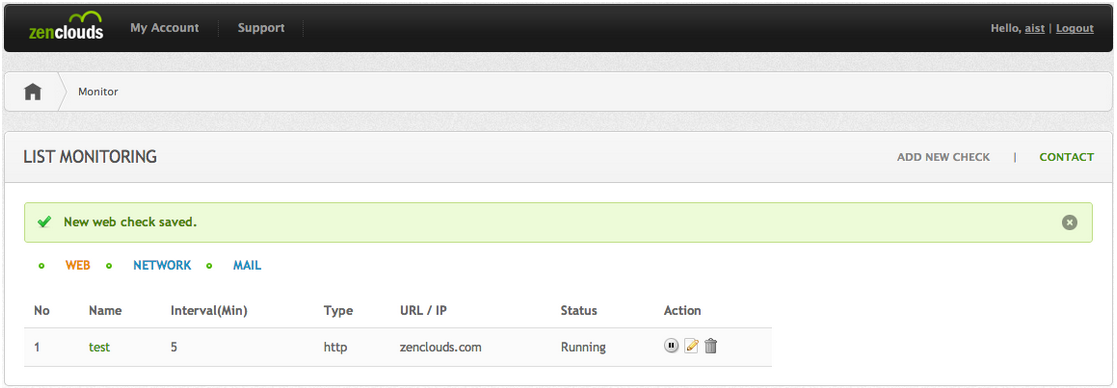
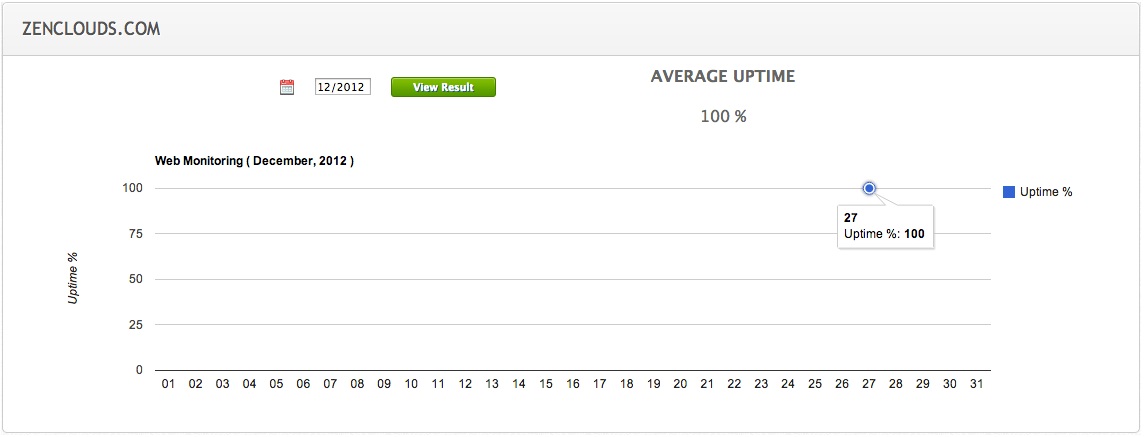
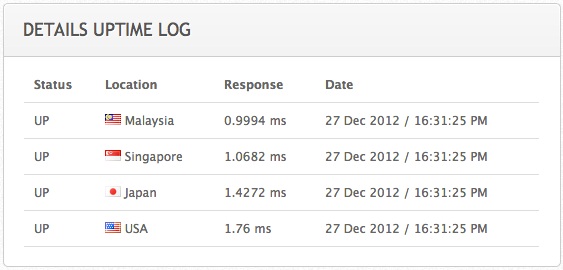
9) To view the statistic and log details, click the name of your check.